Once I had the lid working — the facet surface, the dome, the airflow wings and the condensation control — I knew I was close to the final solution. But one thing was still completely unresolved: How do I attach the lid to the container so that it is not airtight, but also does not move?
I needed a solution that centers automatically, does not tighten or jam, works in every size category and is simple to manufacture in a mold.
🧠 Learning FreeCAD From Zero
I had never used a CAD program before. I didn't know how to make a 3D model or set dimensions. So I started from scratch: YouTube videos, online instructions, experiments and failures. With help from a Swedish user online, I built the lower container parts and the lid shape. But the attachment was still unsolved.
🧩 First Ideas — Opposing Grooves
My first idea was a groove in the container and a matching groove in the lid that would slide and lock next to each other. But this was problematic: too tight and the lid gets stuck, too loose and it moves, and worst of all — the groove would not center the lid automatically.
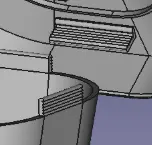
The groove concept — it looked logical but created more problems than it solved
💡 The Breakthrough Moment
"Why should they be side by side? Why not on top of each other?"
If I make four small raised blocks on the container, and four matching recesses in the lid, they fit on top of each other — directly aligned vertically. This solved everything at once: the lid cannot move sideways, always goes to the exact same position, cannot be broken by pressing too hard, and can only be removed by lifting straight up.
From this idea, the Pyramid Locking System™ was born.
🔺 The CAD Model — Seeing It Work
A pyramid guides the lid automatically to the center, prevents sideways movement, does not tighten or jam, works in all size categories and is easy to manufacture in a mold.
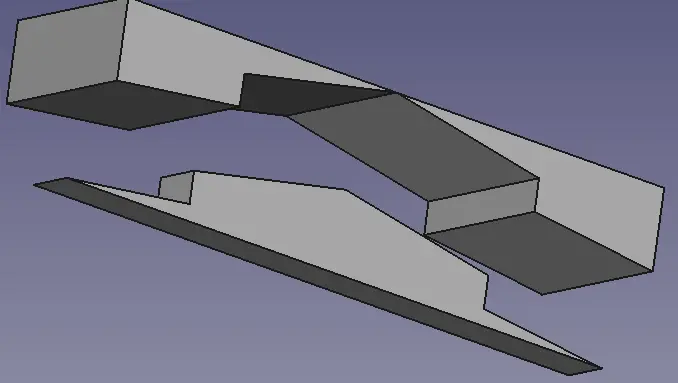
The locking beam — the pyramid angle that enables self-centering — protrusion above, matching recess below
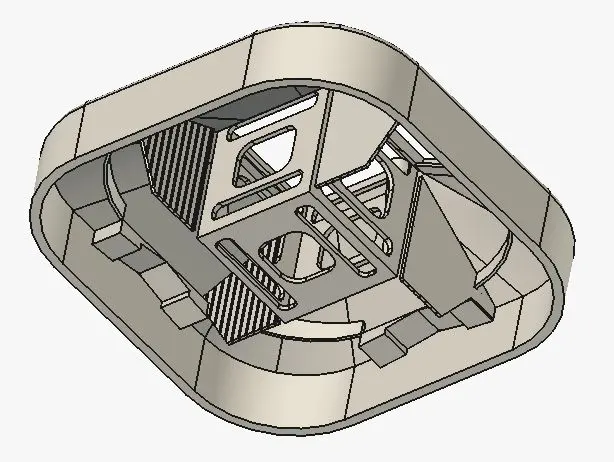
Detail view — the locking beam cross-section and the Air Flow Wings™ slot beside it
🌟 CALYXA® Reaches Its Final Form
When I printed the first prototype, I could see and feel that it worked. The lid and the container were no longer two separate parts — they were one system. Centers, locks, creates the airflow gap — all in one motion.
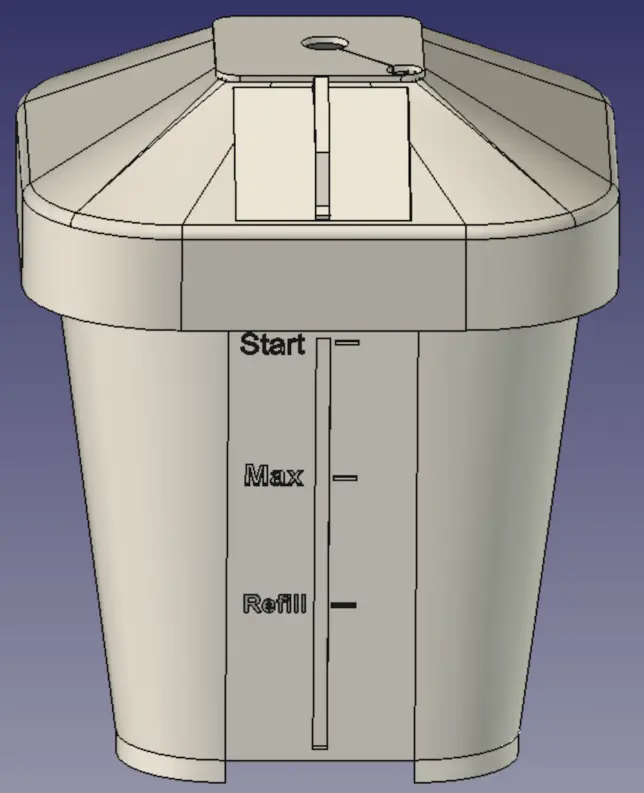
The final CALYXA® model — every element working together
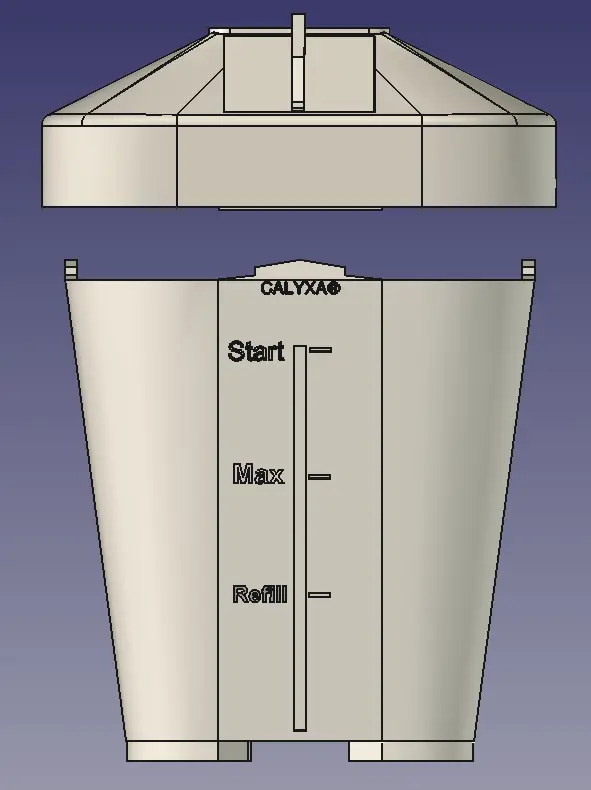
Lid and container shown separately — the Pyramid Locking System connects them precisely